How to improve our photos I: Photoshop’s levels
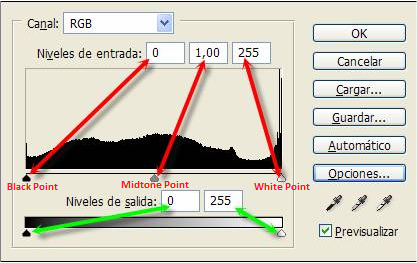
Photoshop’s levels can move and stretch brightness levels in a histogram using three main components:
- black point.
- white point.
- midtone slider.
The position of the black and white point sliders redefine the histogram’s “Input Levels” so they are mapped to the “Output Levels” (default is black (0) or white (255), respectively), whereas the midtone slider redefines the location of middle gray (128). Each slider is shown below as they appear in Photoshop’s levels tool, with added blue labels for clarity:
To find an easy way to edit your picture with Photoshop Level tool, click Image >> Adjustments >> Levels or [Ctrl+L]
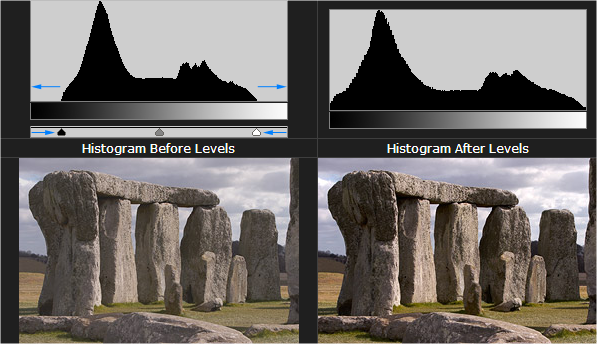
Is important to obtain a balanced histogram color distribution along the whole histogram. At this point will outline is important to get a photo that whenever contains at least one Black and one White point. If not, so simply move the sliders to the curve of the histogram as shown in the attached image.
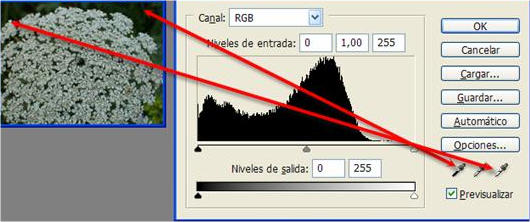
Another way is to simply click on ![]()
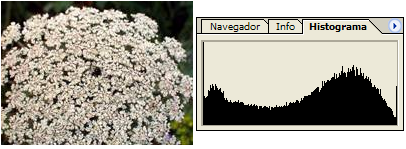
Just choose a point that should be black with black dropper and another point that should be white with white dropper. You can see an example ahead.
See you guys


